


Small tack room ideas usually arrive as photographs. The things that decide whether a small room works are duller than that: what the walls will take, what the air is doing to the leather, and how much gear is in there that you will never ride in again. Get those wrong and you have a damp cupboard full of leather you cannot reach, which is a safety problem before it is a tidiness one.
How Big Does a Tack Room Actually Need to Be?
The extension guidance we checked gives no square footage figure. It sizes the room by horses and disciplines instead: it should be large enough for the number of horses housed in the barn, plus the number ridden by more than one person in more than one discipline extension guidance. The count is of horses, not riders, so a multi-discipline yard sizes up before a single-discipline one of the same herd size.
Whatever the size, the baseline condition is the same. The room should be enclosed, dry and free of dust.
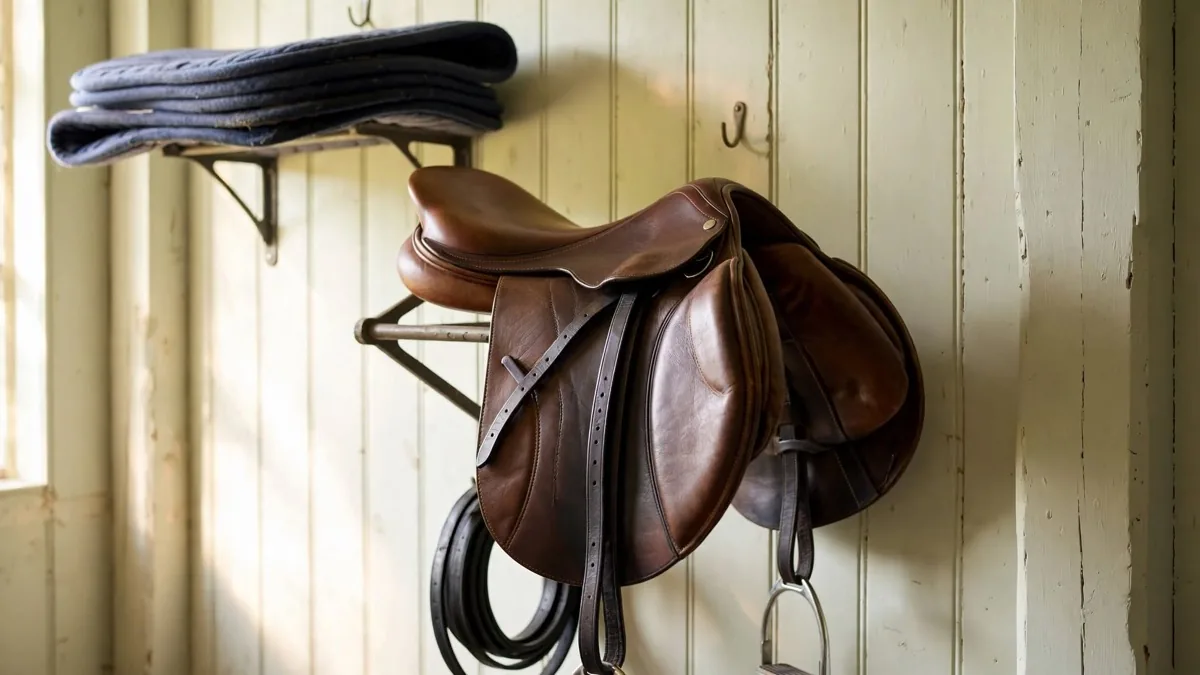
Measure the Wall Before You Buy a Single Rack
Projection, meaning the distance a rack stands out from the wall, is the number that decides whether a small room works, and it is the one most often left unchecked. Width tells you how much wall a rack occupies. Projection tells you how much aisle you lose.
Manufacturers rarely publish projection in a comparable form, so do it yourself, one rack at a time. Find the projection figure for the specific rack you are considering before you buy it, and if the listing does not state one, ask the retailer for it. A folding rack earns its place in a narrow room for the simple reason that it gives the aisle back when it is empty, but only the published figures for that particular rack will tell you how much.
One warning about width figures. They describe the hardware, not the saddle sitting on it, so they are not a spacing guide. Work out how many saddles a wall will take from the saddles you actually own, with a tape measure, then mount into framing rather than plasterboard, and sketch the room to scale on paper before you drill anything.
Start With What Leaves the Room, Not What Goes On It
You cannot lay out a room around gear you are not going to keep, and the argument for clearing it is not aesthetic. Extension guidance puts it bluntly: crowded or dirty equipment makes it more likely that the room will not be kept clean, and dirty equipment is checked less frequently and thoroughly and is more likely to fail.
Note what the source actually attaches the failure risk to. Crowding makes the room harder to keep clean, and it is dirty equipment that gets checked less thoroughly and is more likely to fail. The pile of rugs in front of the spare bridle is how a bridle goes two years without its stitching being looked at.
Treat the clear-out as the measuring step, not a seasonal mood. If you want the full ritual version, with leather conditioning and rehoming, that is covered in the winter tack room reset. Here, it is simply the thing that happens before the tape measure comes out.
What Temperature and Humidity Does Leather Want?
Keep it dry is the usual advice. A figure is more useful, and conservation science publishes several.
| What you are controlling | Target | Why it matters |
|---|---|---|
| Relative humidity | 45 to 55 per cent | The recommended storage band for leather |
| Upper limit | above 65 per cent | Mould grows on leather, skins and furs |
| Lower limit | below 30 per cent | Moisture loss and embrittlement |
| Temperature | 18 to 20 °C | Paired with the RH band above |
| General indoor humidity target | below 60 per cent, ideally 30 to 50 | US EPA residential mould guidance, not leather specific |
| Light on plain leather | 150 lux maximum | Sunlit windows fade and degrade |
| Light on dyed leather | 50 lux maximum | Dyed leather is far more sensitive |
Drier is not automatically better. Both extremes damage leather.
Three further numbers change how you plan. Mould onset is time dependent: roughly two days at 90 to 100 per cent RH, ten days at 80 per cent and one hundred days at 70 per cent conservation guidance. A wet weekend is survivable, a wet fortnight is not. After a leak or a spill, drying everything within 24 to 48 hours usually prevents mould entirely. And a cool room is a cheaper room to protect: dropping temperature by 5 °C slows chemical degradation by half.
Poor air circulation is named alongside humidity and warmth as a driver of mould growth, which is the technical case for open racking over sealed trunks in any room that struggles with damp. For cold climates, extension guidance recommends two inches of side wall and ceiling insulation plus electric heat and ventilation as the economical way to keep the space dry.
How Do You Get Mould Off Leather Without Wrecking It?
Dry it fully, then vacuum it off. Do not wipe it. Close vacuuming is one of the most effective ways to remove mould growth and reduce spores on the object, and there is a rough test for whether you have waited long enough: if the mould smears, the leather may not be dry enough to clean. The damp cloth everyone reaches for drives the growth into the grain.
Moths and the Things Quietly Eating Your Gear
Clothes moth larvae feed on wool, fur, feathers and untanned skins. Anything of that kind sitting in a tack room is at risk, and it is rarely the thing anyone thinks to inspect.
Freezing is the reliable treatment for clothing and small textiles, which is the scope English Heritage gives it. Items must be placed in plastic bags and exposed to minus 18 °C for at least two weeks to be certain of killing everything, and afterwards they should stay sealed in the bag for at least 24 hours to prevent condensation problems. That second step is the one people skip.
The barn standby does very little. Cedar balls and lavender sachets have a limited life of three months at most, work best in enclosed spaces, and have no effect on larvae already inside clothes. Use them if you like, but replace them and do not rely on them.
Build a cadence instead. Conservation guidance recommends inspecting storage areas at least twice a year for signs of insect activity, which maps cleanly onto a spring and autumn routine. While rugs are down, check sizing before anything goes back on the rail, because an outgrown blanket is a sell item, not a storage item. Our horse care checklist for every season sets out what else belongs in the same pass.
Light, Power and Fire Risk in the Tack Room
Here is the detail that should change how seriously you take a dry, uncluttered tack room. Rutgers extension recommends siting the electrical panel box in the driest, most dust-free area possible, specifically the tack room or utility room rather than stall areas. If your barn’s panel is in the tack room, a damp or crowded room is no longer only a storage problem.
Winter barn fires are caused by appliances, rodents chewing through wires, and the accumulation of dust and cobwebs on electrical surfaces. All three are things a clear-out directly addresses. Wiring, including temporary extension cords, should be run through metal conduit to keep it away from the teeth of rodents and horses.
Three more figures worth pinning to the wall:
- Light the room properly. Extension guidance specifies at least 300 watts of incandescent lighting, or 100 watts fluorescent, per 100 square feet of floor area, plus adequate outlets.
- Ventilate it. Penn State’s fire safety guidance, which is about smoke and heat venting rather than day to day airflow, sets roof venting at 1 square foot of ceiling vent space for every 100 square feet of floor area.
- Mount an extinguisher. Penn State recommends a charged, mounted extinguisher easily accessible every 50 feet in the barn, and Rutgers sets the size at 5 pounds minimum, 10 pounds ideal.
If bedding is stored near the room, keep it out: straw reaches a burning temperature of 300°F in 1 to 5 minutes and develops as much heat at the same rate as gasoline.
Keep, Repair, Retire or Sell: A Rule for Every Shelf
Four outcomes, not two. What follows is an editorial rule rather than a published standard, but it resolves most shelves in a few seconds each. The category riders forget is retire, which means the item leaves the room and does not go on to anyone else.
| Outcome | The test | Typical items |
|---|---|---|
| Keep | In regular use, fits horse and rider, sound | Working bridles, current saddle, in-season rugs |
| Repair | Sound structure, failed component, worth the bill | Restitched reins, replaced billets, relined boots |
| Sell | Serviceable and safe, but surplus to the horse or discipline you have now | Outgrown breeches, a second saddle, spare rugs |
| Retire | Safety critical and past its life, or structurally compromised | Any impacted helmet, cracked trees, perished stirrup leathers |
Once something lands in the sell column, the job is photographs, description and price, and that is a separate craft. We cover it in how to sell equestrian gear rather than repeating it here.
The One Thing You Should Never Pass On
Helmets. This is the hard exclusion in the rule above, and it is the one that costs someone else the most if you get it wrong.
Equestrian helmets are built for one impact event only, and even with no visible damage the impacted area may be compromised. Charles Owen is equally direct: any impact at all, no matter how small, compromises the helmet and it should be replaced before riding again. You cannot inspect your way out of this, because it is very hard to tell if a helmet is damaged just by looking at it without specialist equipment.
There is also a clock running independently of any fall. Charles Owen gives a maximum useful lifespan of five years from the date of first wear, and US Equestrian confirms the same five years from first wear, citing natural wear and tear on the helmet’s protective materials.
A helmet with unknown history should not be resold. Dispose of it. Sell the breeches instead.
Small Tack Room Ideas That Do Not Need a Builder
- Prefer folding racks to fixed ones on the aisle wall, and check the published projection of the specific rack before you buy.
- Buy a hygrometer before a dehumidifier and watch the room for a fortnight. You are looking for a reading above 65 per cent, not a vague feeling of damp.
- Move leather off the window wall. Dyed leather should not see more than 50 lux.
- Replace closed trunks with open shelving where damp is an issue, because poor air circulation promotes mould.
- Sketch the room to scale on graph paper, using projection figures rather than overall dimensions, before you buy anything. It costs nothing and it is the step that prevents the expensive mistake.
Tack Room Questions Riders Actually Ask
How do you organise a tack room? By wall, not by pile. Measure each wall, assign it a function, then mount racks into framing rather than plasterboard. Do the keep, repair, retire or sell pass first, because crowded equipment gets checked less often and is more likely to fail.
What is the ideal size for a tack room? The guidance we checked gives no single figure. It sizes the room by the number of horses in the barn plus the number ridden by more than one person in more than one discipline, which is a better test than square footage because it counts horses and disciplines rather than floor.
What to put in a tack room? Saddles, bridles, rugs and grooming kit, plus three things worth adding: a hygrometer, a mounted extinguisher of at least 5 pounds, and, if the barn’s electrical panel has to live somewhere, Rutgers recommends the driest, most dust-free area, meaning the tack room or utility room rather than stall areas.
What are some creative ideas for a tack shed? A shed has the same requirements as a room and tighter constraints. For cold climates, insulate to two inches with heat and ventilation, light it to 300 watts incandescent per 100 square feet, and keep the structure enclosed, dry and free of dust.
What are some DIY ideas for a small tack room? Scale drawing first, folding racks second, open shelving third. Then freeze any small wool items that have been sitting for a season at minus 18 °C for two weeks in sealed bags before it goes back in.
Once the Room Is Measured, the Rest Is Resale
A tack room clear-out always produces two piles. One goes back on the wall. The other is worth real money to a rider who has been searching for exactly that item in exactly that size. List it directly on Reequestrian’s seller page and give the aisle back to yourself. If you are on the other side of it and the clear-out revealed a gap, the Reequestrian shop is where other riders’ surplus ends up.


